As I set out to achieve optimal home comfort, I embarked on a quest to install the AprilAire 600M Humidifier. Upon researching the benefits it offers, I was enthralled by its ability to maintain a perfect humidity level in my living space. In this blog post, I will guide you through the step-by-step process I undertook to successfully install the AprilAire 600M Humidifier and enhance the atmosphere in my home. Join me on this journey as I share my firsthand experience and impart valuable insights to ensure a seamless installation process. Let’s dive in and unlock the secrets to achieving ultimate home comfort together!
Introduction
In my experience as a plumbing professional, I have come across various products that can greatly enhance the comfort of your home. One such product that I highly recommend is the AprilAire 600M humidifier for your forced warm air furnace. In this article, I will guide you through the step-by-step process of installing this remarkable unit, ensuring optimal home comfort during the winter months.
Why Choose AprilAire 600M?
Before we delve into the installation process, let me explain why the AprilAire 600M humidifier is worth considering for your home. With this unit, you can maintain the perfect level of humidity automatically. Dry winter air can cause discomfort, leading to issues like dry skin, sinus problems, and even damage to wooden furniture. By adding a central humidifier to your furnace, you can mitigate these problems and create a healthier living environment for you and your family.
Installation Process
Now, let’s jump into the installation process of the AprilAire 600M humidifier. Follow these steps carefully to ensure a seamless installation:
-
Turn off the power: Before beginning any installation work, ensure that the power to your furnace is turned off. Safety should always be the top priority when working with electrical connections.
-
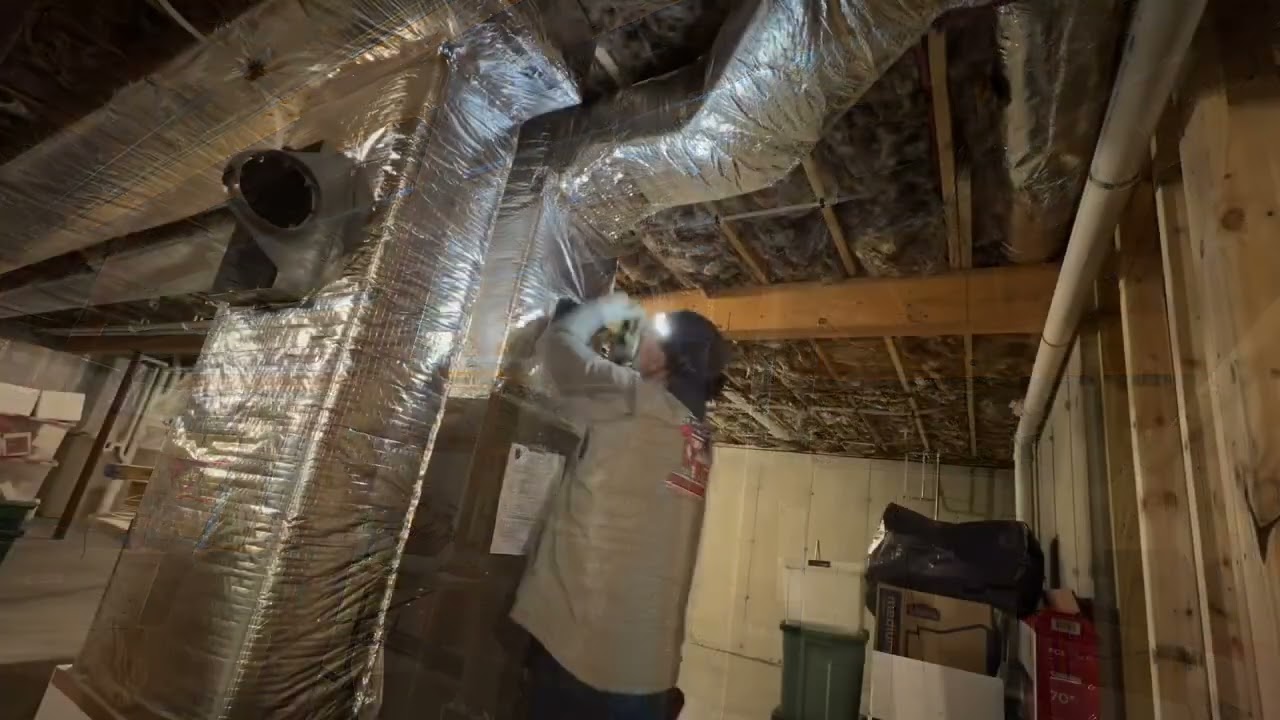
Locate the ideal position: The AprilAire 600M humidifier should be mounted on the supply plenum of your furnace. Find a suitable location that allows easy access for maintenance and doesn’t interfere with the functioning of other components.
-
Mounting the cover and humidifier: Attach the cover to the humidifier, ensuring a secure fit. Then, position the unit on the supply plenum, aligning it with the mounting holes.
-
Mark the mounting holes: Using a marker or pencil, mark the spots where the mounting holes should be drilled. Take extra care to ensure the holes are aligned correctly.
-
Drill the mounting holes: With your markings as a guide, carefully drill the necessary holes into the plenum. Ensure that the drill bit size matches the specified requirements provided by AprilAire.
-
Secure the unit: Once the holes are drilled, it is time to secure the unit. Use the provided screws to fasten the AprilAire 600M humidifier to the plenum. Make sure the unit is firmly attached for its optimal performance.
-
Connect the water supply: Locate a suitable water source near the furnace setup. Attach a water supply line directly to the humidifier’s water panel assembly. Follow the manufacturer’s instructions to ensure a watertight connection.
-
Wire the unit: Carefully follow the wiring diagram provided by AprilAire to connect the electrical components. Be cautious about matching the colors of the wires and securing them tightly.
-
Set the humidistat: Once the electrical connections are made, mount the humidistat control on an interior wall or in a convenient location. This control will allow you to set and adjust the desired humidity level for your home.
-
Reconnect the power: After ensuring that all connections are secure and in accordance with the provided instructions, it’s time to restore power to your furnace. Double-check to ensure there are no loose connections and that everything is properly installed.
-
Test and adjust: With the installation complete, test the AprilAire 600M humidifier to ensure it is functioning correctly. Adjust the humidistat settings as necessary to achieve the desired humidity level for your home.
FAQs (Frequently Asked Questions)
- Can I install the AprilAire 600M humidifier myself, or should I hire a professional?
It is recommended to hire a professional for the installation of the AprilAire 600M humidifier. They have the knowledge and experience to ensure a safe and optimal installation.
- How often should I replace the water panel in the humidifier?
It is recommended to replace the water panel at least once a year. However, the frequency may vary depending on the water quality in your area. Regular inspection and maintenance are essential to maximize the unit’s efficiency.
- Can the AprilAire 600M humidifier be used in homes that already have a built-in humidification system?
Yes, the AprilAire 600M can be used in conjunction with an existing built-in humidification system. It provides additional control and improves the overall humidity management in your home.
- Is it necessary to have a water softener installed when using the AprilAire 600M humidifier?
Having a water softener can extend the lifespan of the humidifier and minimize the buildup of mineral deposits. While not necessary, it is highly recommended for optimal performance and longevity of the unit.
- Can I get a quote for installing the AprilAire 600M humidifier in my home in Chelmsford, Massachusetts?
Certainly! If you live in the Chelmsford area and are interested in adding a central humidifier to your furnace, you can contact me at DiBaccoPlumbing.com. I will be more than happy to set up a home visit consultation and provide you with a personalized quote.
Conclusion
With the installation of the AprilAire 600M humidifier, you can achieve optimal home comfort during the winter months. This straightforward process ensures that your home’s humidity levels are automatically maintained, mitigating the discomfort caused by dry air. Remember, it’s always a good idea to seek professional assistance when installing such units to guarantee safety and optimal performance. Feel free to reach out to me at DiBaccoPlumbing.com for any inquiries or quotes in the Chelmsford, Massachusetts area.